Are you experiencing a leaky faucet in your kitchen or bathroom? It may be time to consider replacing it with a new one. A malfunctioning faucet not only wastes water and increases your water bill, but it can also be a hassle to deal with on a daily basis. In this article, we will discuss the process of replacing a faucet, including the tools you will need and the step-by-step instructions to successfully complete the job.
Whether you are a DIY enthusiast or just looking to save some money on hiring a plumber, replacing a faucet can be a relatively simple task with the right guidance. By following our instructions and tips, you can have a new, functioning faucet in no time, allowing you to enjoy a leak-free environment and peace of mind in your home.
Choosing the Right Faucet
Before beginning the replacement process, it is important to select a new faucet that fits your needs and style preferences. Consider factors such as the number of handles, the type of finish, and the overall design that will complement your kitchen or bathroom decor. Additionally, make sure to measure the existing faucet so that the new one will properly fit in its place. Once you have chosen the perfect faucet, you can proceed with the faucet replacement process.
Gathering the Necessary Tools
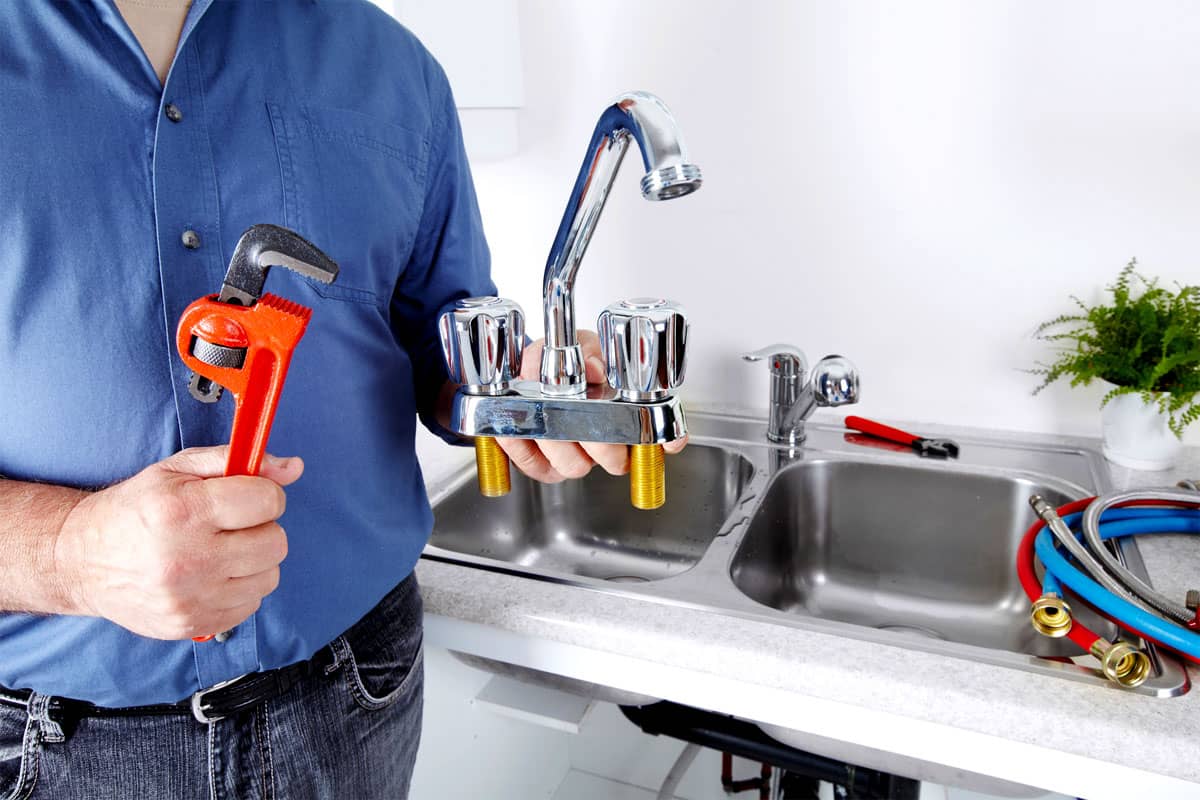
To successfully replace a faucet, you will need a set of tools including an adjustable wrench, screwdriver, plumber’s putty, and possibly a basin wrench. These tools will help you remove the old faucet and install the new one securely. Before starting the replacement, make sure to turn off the water supply to the faucet by closing the shut-off valves under the sink. By gathering the necessary tools and preparing the workspace, you can ensure a smooth and efficient faucet replacement process without any unnecessary delays.
Completing the Replacement Process
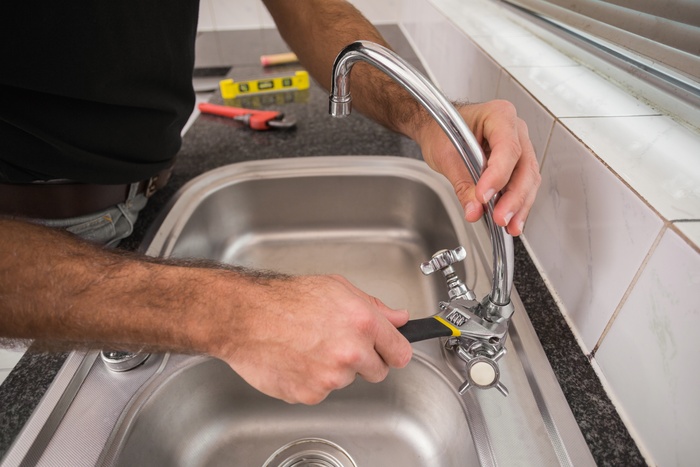
With the new faucet selected and the tools gathered, you are now ready to begin the replacement process. Start by removing the old faucet by disconnecting the water supply lines and unscrewing the mounting nuts that hold it in place. Once the old faucet is removed, clean the area thoroughly before installing the new faucet. Apply plumber’s putty to the base of the new faucet to create a watertight seal, then secure it in place using the mounting hardware. Finally, reconnect the water supply lines and turn on the water to test for any leaks. With careful attention to detail and following each step methodically, you can successfully replace your old faucet with a new one, ensuring a functional and aesthetically pleasing addition to your kitchen or bathroom. Enjoy your newly installed faucet and the benefits of a leak-free environment!
Leave a Reply